Summary
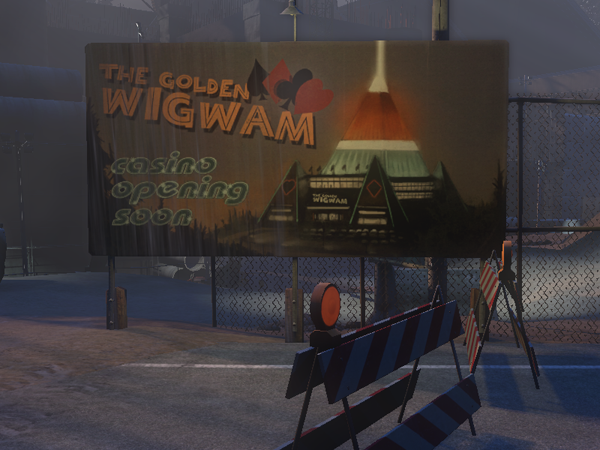
The Blue Mountain Lair is located in the North-West of the playfield, just adjacent to the Agartha portal. It is based within the Casino Building site off of Solomon Road.
By completing all the missions in this lair with your team, you will get your hands on Essences to enable you to spawn bosses. As explained in our Introduction to Lairs - spawning and successfully killing these bosses is how you get your hands on loot!
Notes for this area:
The staircase from level 1 to 2, marked on the map, is a place where if you are unlucky you can draw adds. Careful on your approach, the Safety Hazards will come down the stairs to meet you and bring their adds with them.
As with all lairs, remember you are working in a team. Wait for your team mates if they die, always remember to run back if you die in Anima Form, communicate if you are missing something in order to complete a mission and most importantly - have fun together!
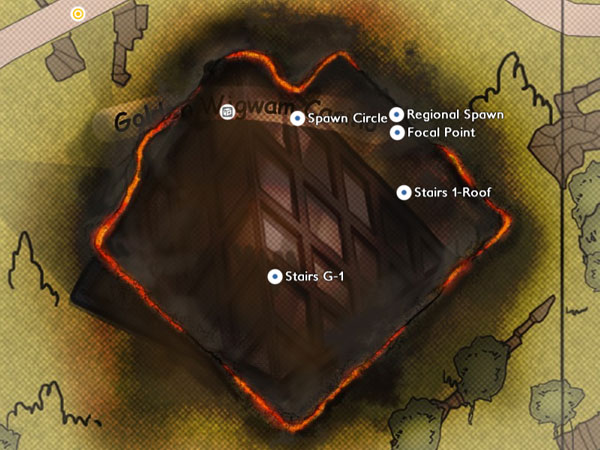
Location overview map:
Missions
Mission 1: The House Always Win
A Wabanaki ward lies broken and discarded among the construction site rubble. The darkness that underlies local myths now leaks to the surface – a new kind of slurry – and warps the minds and metals in its way.
Tier 1 of 2:
- Clear the area of Safety Hazards (5)
- As a note, Safety Hazard will spawn an add called Harvest Hand.
- Defeat the Deconstructed Workers (15)
- Destroy the Slate Giants (5)
Tier 2 of 2:
- Find and Destroy the Ward Breaker
Mission 2: Picking Up the Pieces
The Wabanaki ward stone is a mere fragment of what it once was. This symbol of protection has gone the way of truth, of stability, of hope in the region. Find the scattered pieces and seek to make it whole again.
Tier 1 of 1:
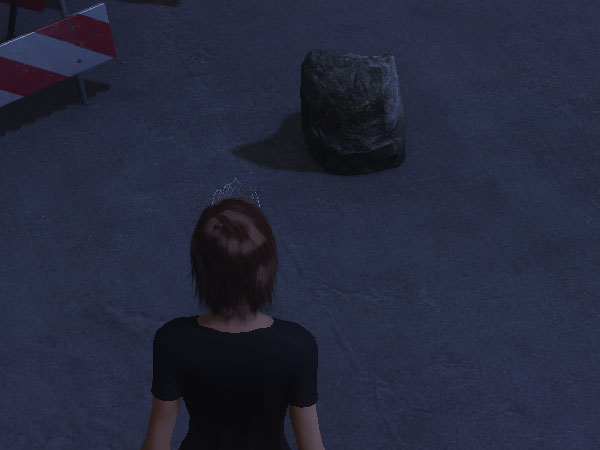
- Pick up the ward piece
This is probably one of the most forgotten mission parts, which can really cause you pain and frustration if you have missed picking it up. The ward piece is at your feet where you pick up the mission. Don’t forget to use the stone (F) before progressing into the lair!!
Mission 3: The Whole Truth
The ward stone can now be used to mitigate the black power that’s being channelled at the casino construction site. Set the stone at a focal point and defend it from all those that feed on this place. The Ward stone, from “Picking up the Pieces” is recommended for this mission.
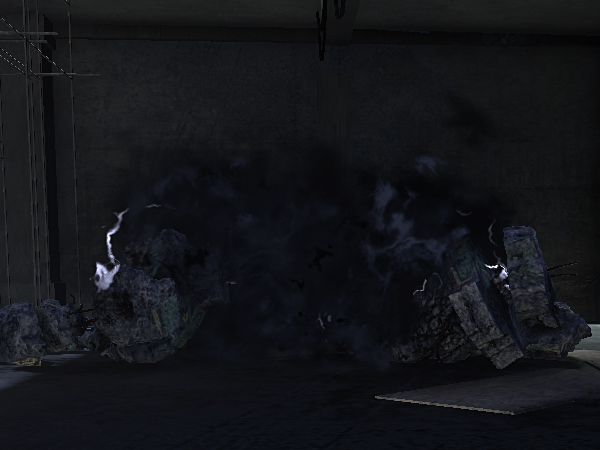
To get to the casino's focal point, use the stairs from the ground floor to the first floor, and then look for the stairs marked on the map as “1 to roof”. On your way up this staircase, look for this area on your way up:
Summoning lair bosses:
Once missions are complete and handed in, each team member will have three summoning essences in their inventory. The lair team should then head to one of the summoning platforms.
 Subscribe to RSS Feed